You’ve got a fantastic idea for a film, and you’re eager to get started. But there’s a key step you shouldn’t ignore – creating a storyboard.
Let’s take an in-depth look at how to storyboard a film, with a look at what exactly storyboards are, and why they’re so important for filmmakers.
What is a storyboard?
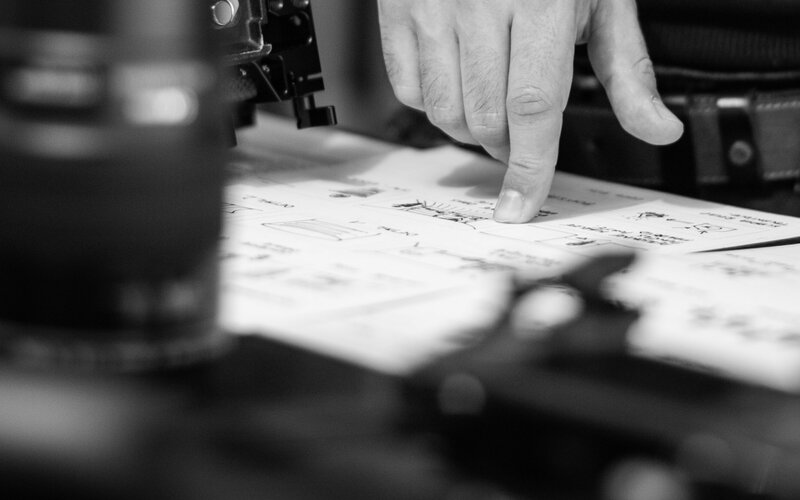
A storyboard is a visual outline of your film. It depicts what happens scene by scene in your film, from the opening scene to the final frame, breaking down the action into different panels like a comic book. It should contain drawings or images, camera direction, dialogue and any other crucial details.
Storyboards are usually hand-drawn, but some filmmakers prefer to use storyboard software and a storyboard template to put them together. Either way, the end result should be the same: a visual representation of your film that makes it easy for anyone looking at it to know what should be happening on-screen at any given time.
The process of storyboarding was first developed in the 1930s by Walt Disney Productions, when the animator Webb Smith came up with the idea of drawing scenes on individual pieces of paper, then pinning them up on a bulletin board to show the full story in sequence.
One of the first live-action films to use the storyboarding technique was Gone with the Wind in 1939. Today, it’s common practice to create storyboards for all types of films, from shorts to animated films and live-action movies.
Why are storyboards important?
Many filmmakers consider storyboarding a vital part of the creative process. Edgar Wright, writer and director of Baby Driver and Shaun of the Dead, is one of these. But why is it so important to create a storyboard? Edgar explains:
“I find it an essential part of the process that helps me to visualise the ideas in my head while also providing me a way to quickly convey to the cast and crew what I’m trying to achieve on each shooting day.”
Storyboards allow you to put your vision down on paper, transferring it from your head into a format that makes it easily understandable for all your creative teams working on the film. In their easily digestible, comic book format, they’re an easy reference point for both cast and crew and having the film outline displayed in such a visual manner means that anyone can see at a glance what’s coming up in the next scene, as well as what the overall look and feel of the film will be.
Working through creative blocks
While a three-act structure helps to move the plot along, with critical plot points in each act, there may still be dialogue or scenes that you’re unsure of. Working through the storyboarding process can help you to shift any writer’s blocks you may be having and see how all the pieces fit together to create a cohesive story.
It allows you to map out exactly what shots you need to get – meaning that you don’t need to waste time, energy and money shooting scenes that don’t have any place in the final film. Having it all laid out visually in one place ensures that you will get all the shots you need, and it can help you to anticipate any potential issues – both in terms of actually getting the shots, but also when it comes to what works within the context of the film, and what doesn’t.
This visual overview is the main reason Edgar Wright finds storyboarding such a vital part of his creative process. Storyboards allow him to see exactly what he’s aiming for with every shot, so if something doesn’t go to plan, he can simply refer to the visual outline and work out what to do in order to get a different shot that still captures the essence of the original shot. As he explains:
“Picture the entire film as a jigsaw puzzle. Every single shot you get is a piece of the puzzle and it all has to fit together seamlessly. If one of the puzzle pieces doesn’t fit, I have the structure of the other puzzle pieces already in place to inform me of exactly what kind of shape I need the readjusted puzzle piece to fit into. So, in that sense, going into each shooting day with a full plan helps put my mind at ease by having storyboards and animatics to help keep everything set to a tight schedule.”
Getting complicated scenes right
Storyboarding can be particularly useful when it comes to shooting action scenes, which look incredible on the big screen but can be extremely complex to film, with lots of moving parts. A storyboard will help you to make sure you capture all the shots you need, and that your teams have an easy reference point for shooting complicated scenes.

What is the storyboarding process?
If you’re just starting out with storyboarding, it might seem overwhelming. But creating a storyboard isn’t as difficult as you might imagine. Here are the key steps you should follow to create a good storyboard that will help you to keep your film on the right track.
1. Work out what your key scenes are
The point of a storyboard is to map out the story you’re telling – so the first thing you need to do is break down your script into the main scenes. Go through your script and highlight some of the main plot points, as well as any key details such as locations and camera angles. This will help you to plot out the frames you need for your storyboard.
You can put this information into a shot list, which details the specifics of every shot in your film, like camera angles, camera placement, aspect ratios and types of shot.
2. Map out your key scenes
Once you’ve identified what the main scenes are for your storyboard, you can start to map them out – either using storyboard software or by hand. Give each of your scenes a name and a relevant title, such as ‘Scene 1 – Bedroom’, ‘Scene 2 – Hallway’, ‘Scene 3 – Going down the stairs’ or ‘Scene 4 -Outside the front door’.
3. Sketch out your scenes
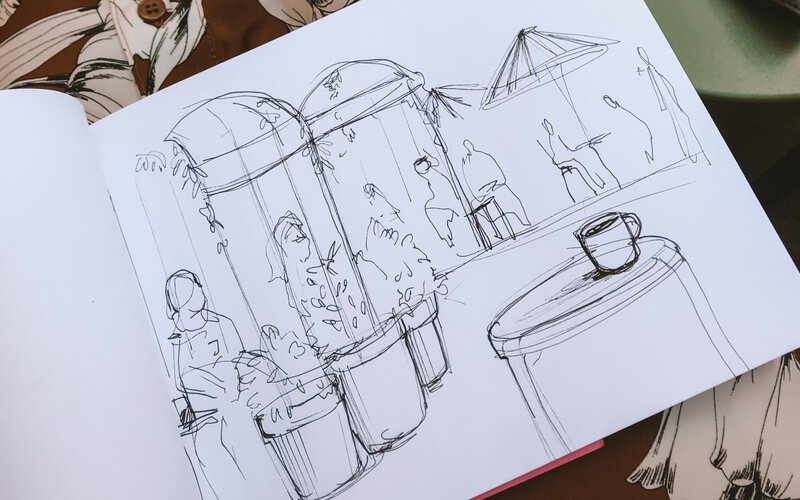
Now you can start to draw your scenes, again either by hand or using software to do it electronically. You might also want to collect reference images to add to your storyboard, whether from locations you want to shoot in, illustrations you’re inspired by, or stills from other movies.
This is typically how Edgar Wright starts his storyboarding process:
“I begin my storyboarding process by scribbling simple doodles in the margins of the printed script as I start to visualise how I want to frame and stage each scene.”
Later, he’ll create more formal doodles once he has a clearer sense of what he’s trying to convey in the film, before passing them onto his storyboard artists who will develop them into fully illustrated frames. In the early days of your filmmaking career, you don’t need to go to the lengths of hiring professional artists – you can simply draw stick figures instead! Each scene should be laid out like a comic book strip or graphic novel.
4. Fill in the details
Add information about what happens in each scene, to accompany the static images you’ve just drawn. Add details like arrows to indicate the direction in which a character walks, information about any props that will be used in the scene, the camera angles and framing of each shot you plan to use, as well as dialogue and sound to bring your visuals to life. Although try not to get too bogged down in the minute details. It should still be clear and easy to understand. You can also add any details of voiceovers or dialogue to be included in each scene.
5. Walk away and revisit it
Compiling your story into a storyboard format is a big process. After your first iteration, you may want to leave it alone for a few days and return to it with fresh eyes. This can help you spot anything crucial you may have missed – whether it’s the misordering of an event or a minor detail that needs to be a major one. Take your time with storyboarding. You want to make sure you’re giving your story the best chance of success. If there’s one thing Edgar Wright advises budding filmmakers, it’s that there’s no rush to make your first film. Take a listen to more of his advice on this below.
So now you know all the key steps in the storyboarding process. Inspired to create your own? If you want to find out more about filmmaking check out Edgar Wright’s BBC Filmmaking course to get more hints and tips from an indie film expert.

Give the gift of knowledge
Surprise a special someone with a year's access to BBC Maestro or gift them a single course.


