Light and airy on the inside, with a crispy and crunchy outside, ciabatta is delicious whether you eat it in loaf or roll form. Try this ciabatta roll recipe to create soft, chewy rolls that are perfect for sandwiches, dunked into soup, or drizzled with olive oil and balsamic vinegar.
What is ciabatta bread?
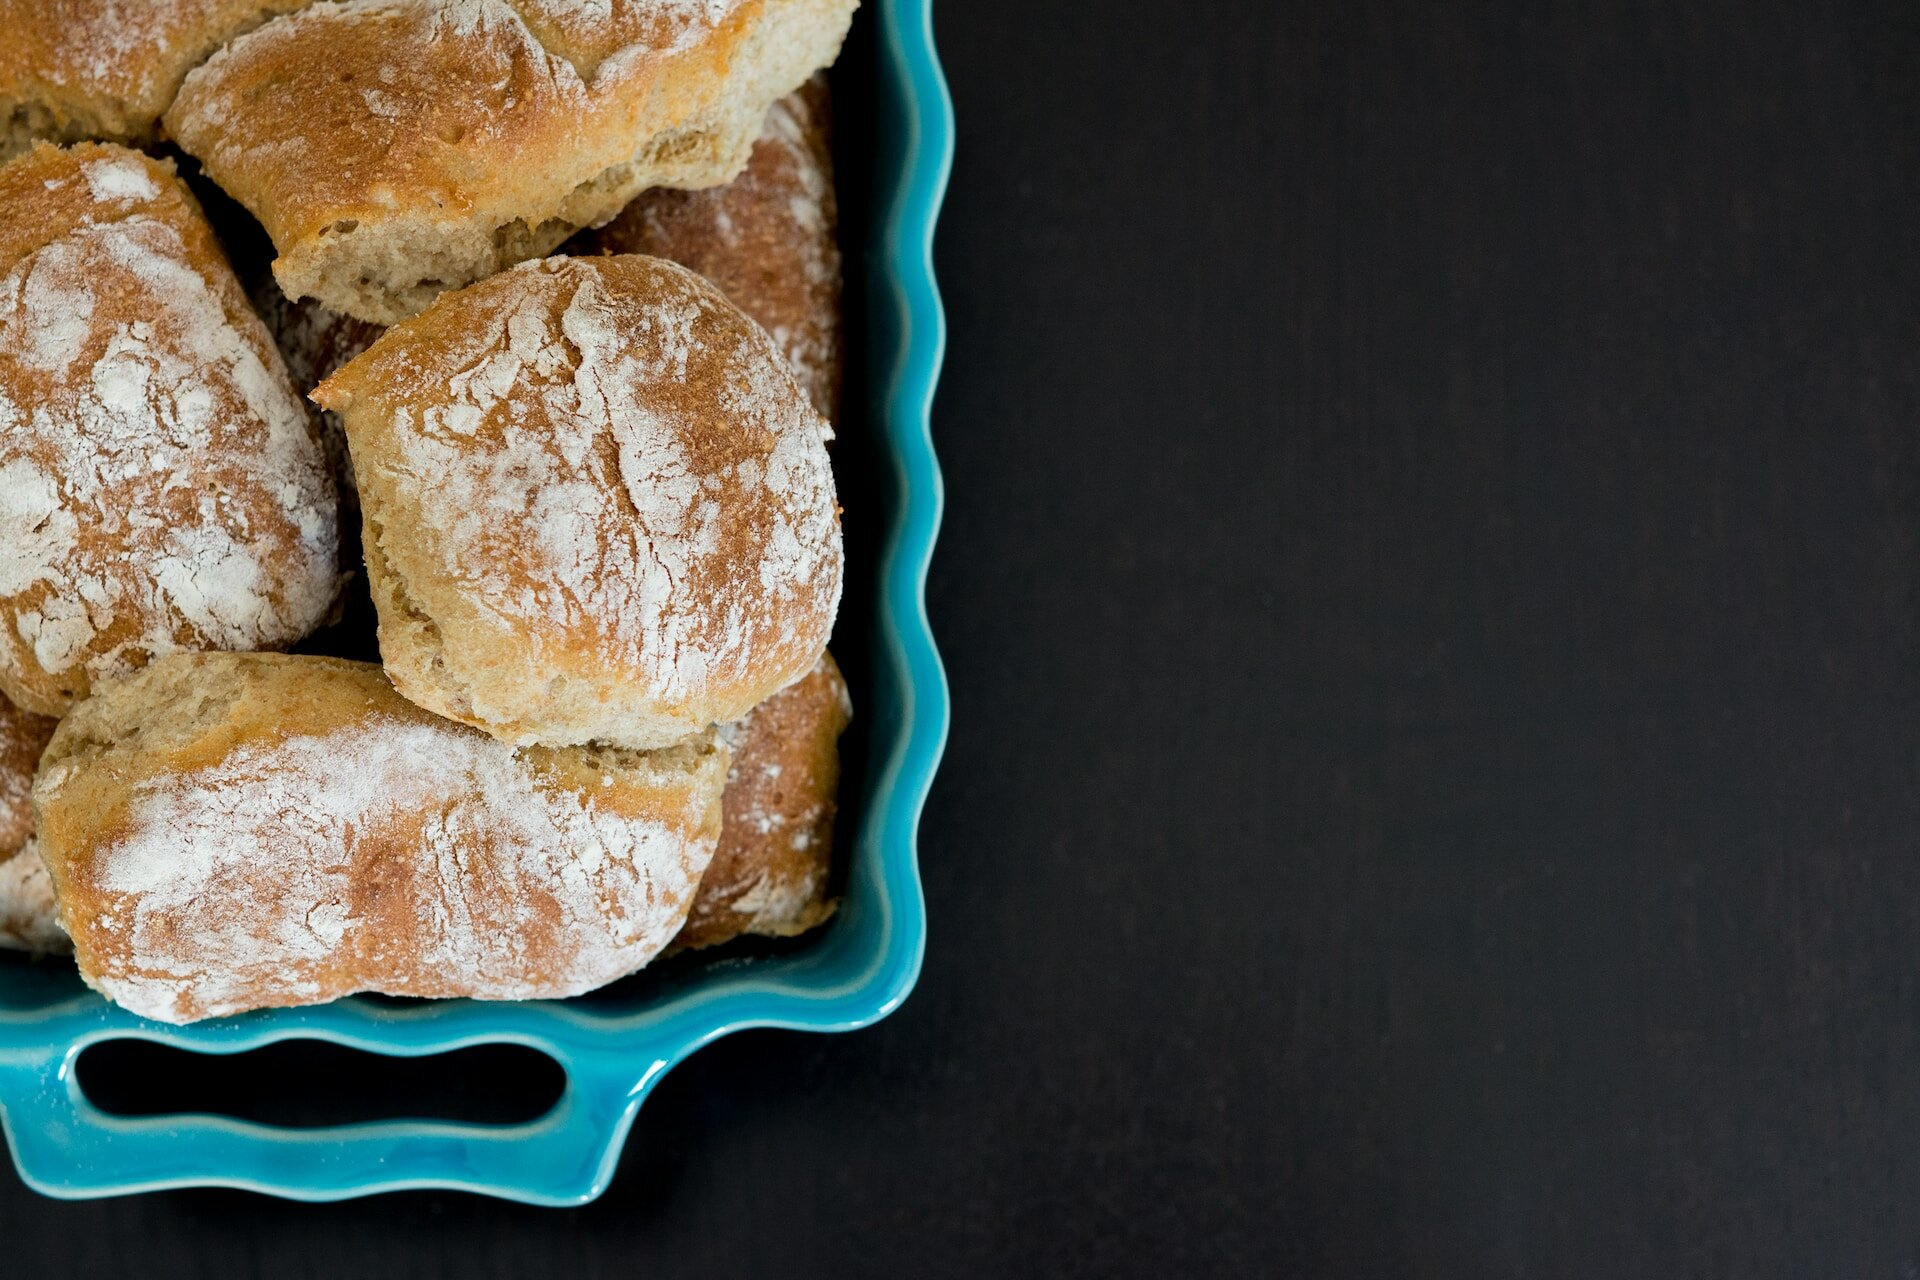
It’s a very light Italian bread, with a chewy texture and a crisp crust. Inside the loaf, it has distinctive holes that are created by air pockets, which are made by the unique combination of wet, sticky dough and a long fermentation process.
Ciabatta is famous for its flat shape. So distinctive is its shape, in fact, that it’s what the bread is named after, as Richard Bertinet points out in his BBC Maestro course, Bread Making:
“The famous ‘slipper’ bread – its name comes from the shape – is built on a very simple ferment, or biga, to give it its Italian name.”
Unlike some breads, which have been made for centuries, ciabatta has a short history. It was invented in 1982 by a baker from Adria, a town in the Rovigo province of Italy. As the story goes, the baker, named Arnaldo Cavallari, was inspired by the popularity of sandwiches made from French baguettes – and dissatisfied with the quality of Italian bread. So, he set out to create a new type of bread that had a superior flavour and texture.
And so, the ciabatta was born. It was introduced to the UK in 1985 when it was first sold in Marks & Spencer, and it’s been enduringly popular ever since.
And it’s no wonder – ciabatta is an excellent vehicle for bread and oil, while ciabatta rolls offer the perfect crust-to-filling ratio. Pile them high with sundried tomatoes, prosciutto, hummus, salad – anything you like, really.
How to make ciabatta rolls
Ciabatta has a high hydration dough, which means that it has a high amount of water in comparison to the amount of flour. That means it can be very sticky and hard to handle – but practice makes perfect! Once you’ve given these easy ciabatta rolls a few tries, you’ll be able to whip them up in no time.
Richard Bertinet’s ciabatta bread recipe follows the traditional process of using a ferment (or biga), which is a little like a sourdough starter. Using this to make your ciabatta helps to develop the flavours, and can help you to get that classic ciabatta look, with irregular holes and a chewy texture.
However, if you don’t have time to make a ferment, you can skip this step. Many modern ciabatta recipes simply mix the ingredients together without the addition of a ferment. So, the choice is yours – follow Richard Bertinet’s recipe to the letter, or skip the ferment for an easier, quicker ciabatta that’ll still be full of flavour.

Ingredients
Richard’s recipe makes 8 full-size ciabatta. We’re splitting the dough into rolls, so you’ll get between 16 and 32, depending on how big you make your rolls.
If you’re making the ferment, you’ll need:
- 350g strong white bread flour, plus a little extra for dusting
- 2g (approx. ¼ teaspoon) fresh yeast
- 180g warm water
For the dough:
- 380g cool water
- All of the ferment (or skip and just mix the ingredients without the ferment)
- 450g ciabatta flour (or half Italian 00 and half strong white flour)
- 10g fresh yeast
- 50g olive oil
- 15g fine sea salt
- A little olive oil, for greasing
Instructions
To make the ferment (skip this section if you’re not using a ferment)
- Have the flour in a bowl, add your yeast and cover with a little flour.
- Rub gently between the palms of your hands, to crumble. You can add the water and mix by hand using your scraper, but if you want to use a mixer with a dough hook, put the water into the bowl first, then add the flour and yeast.
- Mix on slow speed for a few minutes, just until all the ingredients come together in a thick, rough mass.
- Turn out of the bowl and very quickly and lightly neaten it into a ball.
- Put into a clean bowl, cover with a baking cloth and leave at room temperature.
- If you have any draughts coming through, put an extra large freezer bag loosely over the top for added protection.
- Leave to rest for around 18 hours by which time the ferment will be spongy and stretchy, perfect scaffolding for your dough.
To make the dough:
1. Pour the cool water into the bowl of your mixer and add the ferment (or not, if you’re not using ferment – simply add the water to the bowl and skip to step.
2. Have your flour in a bowl, add the yeast, cover it with a little flour and then rub gently between the palms of your hands, to crumble it into the flour.
3. Add to the bowl of the mixer. Keep back the olive oil and salt for now.
4. Start at a slow speed until the flour and water are all incorporated.
5. Now pour in your olive oil in a steady stream. If you add it all at the beginning it will act like a waterproof coating for the flour, making it harder for the water to be absorbed.
6. Once you have added the oil, you will see the dough will slide around at first, but gradually the oil will be absorbed into the dough. Now you can add your salt, let it mix in and then turn up the speed to medium.
7. When the dough starts to make a flapping sound and comes away cleanly from the sides of the bowl, it’s ready.
8. The dough will be strong, but quite sticky, so now you need to give some shape to the dough, creating a ‘top’ and a ‘bottom’ before you can leave it to rest. Use your scraper to release the dough and help you turn it out onto the table (don’t flour or oil it first).
9. With your scraper, skim it, then alternately stretch and arc it over itself a few times and skim again. Quickly you will see the smooth ‘top’ forming.
10. Turn the dough out onto your work surface with the help of your scraper, and as before skim it with your scraper, then stretch and arc it over itself a few times, and skim again, so that you create the smooth ‘top’ again.
11. Drizzle a little olive oil over each piece of dough and rub it over the surface with your hand.
12. Put the dough into a bowl, cover with a baking cloth and leave it at room temperature for around 2 hours, by which time it will have risen really well and be full of big bubbles.
13. While the ciabatta is resting, preheat your oven to 230°C (445F) and put in your baking stones or upturned heavy baking trays to heat up.
14. Get a large wooden board ready, or a big tray lined with a baking cloth, and dust very well with flour.
15. Dust your work surface really well with flour, too. Lightly flour the top of the ciabatta dough and use your scraper to release it from the sides and help you to turn it out onto your floured work surface.
16. Sprinkle some more flour over the top and ease the dough out into a rough rectangle. Use your scraper to cut in half lengthways, then cut each half in half again widthways so that you have four pieces. Either cut in half again to give you large rolls, or cut once more into halves to give you smaller rolls.
17. Gently stretch each piece – this is what gives the bread its characteristic ‘slipper’ shape – and lay on your floured board, sticky ‘bottom’ facing upwards.
18. Cover with a baking cloth and leave at room temperature for around 30 minutes.
19. You’re going to add steam to your oven when you put in the bread, so have ready a clean spray filled with water.
20. Once the ciabatta has proved, turn them over so that the ‘top’ is facing upwards.
21. Lift the first one – with your hands underneath, and without putting your thumb on top, so as not to indent the dough – then shake off the excess flour and gently stretch the dough again as you place it on your board.
22. Repeat with the three ciabatta rolls and slide straight into the oven onto your hot stones or upturned baking trays, and with your water spray quickly mist inside the oven, avoiding spraying water directly on the bread before closing the door.
23. Bake for around 12 minutes, checking regularly, until golden brown.
24. Remove from the oven and enjoy!
What to do with ciabatta bread
The options are endless when it comes to what to eat with ciabatta bread. You may be tempted to eat it fresh out of the oven, loaded with butter or drenched in olive oil – and that’s one delicious option.
Our ciabatta rolls are also a great option for sandwiches. Try an Italian-inspired sandwich with a thin layer of pesto, mozzarella, ripe tomatoes and shredded basil, or layer high with whichever fillings you like best. You could also make a toasted sandwich, loaded with cheese, grilled vegetables or deli meat, and gently pressed in a sandwich toaster for a warm, crispy sandwich.
Ciabatta is also the perfect candidate for making bruschetta. Slice your rolls in half, pop them in the toaster until lightly toasted, and then top them with a mixture of diced tomatoes, garlic, basil and olive oil.
If you can’t eat all of the rolls at once, they’re easy to freeze – just remove them from the oven part-way through baking. If you want to freeze them, remove them from the oven after about 7 minutes. At this point, the crust is forming but the bread should still have a light colour, and it will feel soft, not crispy.
Let your rolls cool completely, then wrap them in greaseproof paper, pop them into freezer bags, and put them in the freezer.
When you want to use them, defrost them and then bake in a preheated oven at around 200/210°C (410F) for around 10-12 minutes until the crust is lightly golden.
Take your baking skills to the next level
It might take a little trial and error to perfect your ciabatta-making skills, but practice makes perfect.
Once you’ve nailed it, you might want to try your hand at making other types of bread. From tiger bread to sourdough, Bread Making by Richard Bertinet will soon have you baking with total confidence and spectacular results.


Give the gift of knowledge
Surprise a special someone with a year's access to BBC Maestro or gift them a single course.