How to create the ideal bread proofing temperature
Whether you’re baking a crispy ciabatta or a chewy sourdough, proofing is an essential part of the process. But it can take a bit of trial and error to find the perfect bread proofing temperature. Here’s everything you need to know to help you get perfectly proofed bread, every time.
What is proofing?
First things first: what exactly do we mean by proofing bread? Proofing, or proving as it’s often called, is the crucial final step of the bread-making process, before you pop it in the oven to bake.
It’s the final rise of the dough before it bakes, during which time the bread takes its shape. This works thanks to a process in which the yeast ferments the sugars, which releases gases – which, in turn, allow the dough to rise and become light and airy.
Proofing can take some time, but it’s a step you can’t skip as it allows the dough time to rest and mature. As Richard Bertinet explains in his BBC Maestro course, Bread Making:
“You can’t rush dough. Good bread relies on time for the yeast to get to work and for the dough to ferment slowly as it goes through the processes of resting and proving, so that your bread not only has a great texture and crust, but is digestible. Remember, good dough makes good bread. It’s that simple.”

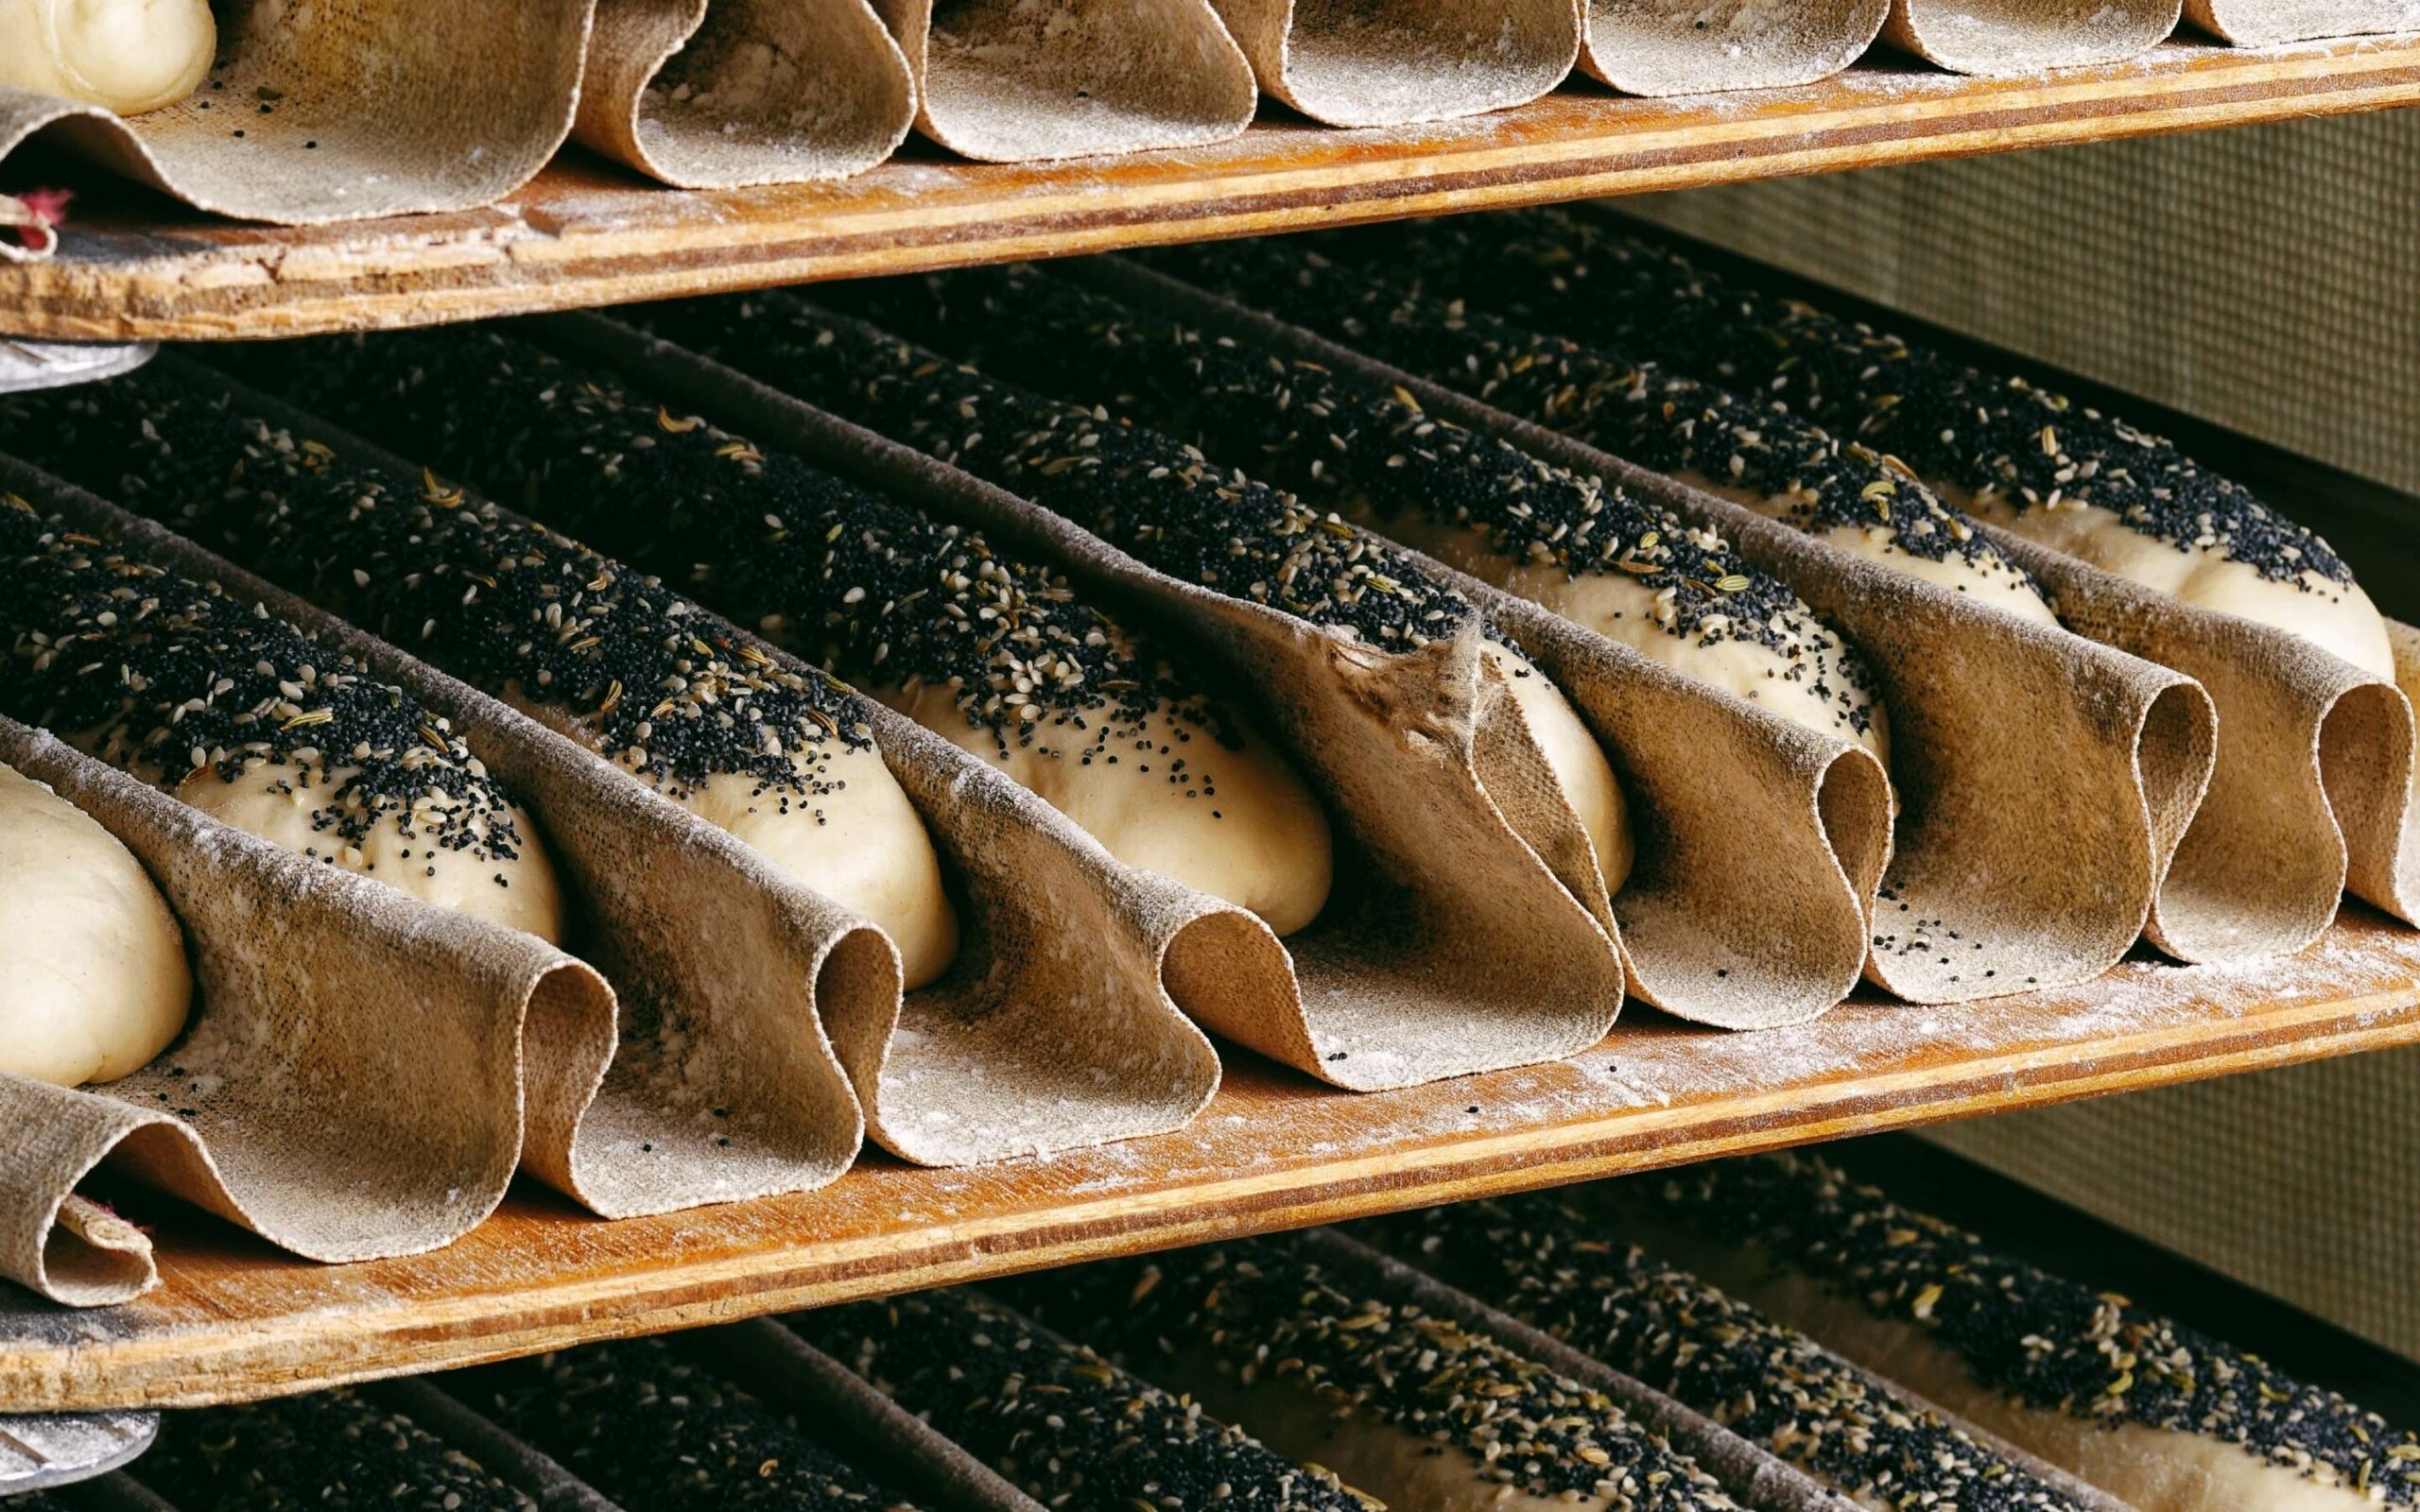
How to proof dough
Proofing dough is part of the process of making bread. It can be helpful, then, to understand what the full bread-making procedure looks like, to see where proofing comes into the mix.
Although there are some exceptions like sourdough, when you need to make a starter, making bread usually follows these steps:
- Prepare the dough
- First rise
- Shape the dough
- Proof the dough
- Bake
So, once you’ve made the dough, left it to rest (which can take anything between 20 minutes and a couple of hours) and then shaped it into whichever form you’ll be baking it in, it’s time to proof your dough.
The length of time required for proofing depends on the type of bread you’re making, but it varies from as little as 30 minutes to as long as an overnight proof. The recipe will specify how long to leave it to proof, and by the time it’s done, the bread should be roughly double – or just under double – in volume.
Then, once you’ve checked that the dough is done, it’s time to bake it. You can gently press a fingertip into the dough to check how springy it is. If it bounces back and doesn’t feel warm to the touch, then it’s ready to bake according to the recipe’s specifications.
What is the best bread proofing temperature?
So, what is the perfect dough proofing temperature? There is lots of different guidance out there, and generally, proofing temperatures fall into three buckets:
- Room temperature proofing, usually around 24°C: This is used in many recipes as it works for lots of different types of bread.
- Warm proofing, usually between 27°C and 29°C: Proofing dough at a slightly higher temperature can speed up the process. That makes it useful for bakers with lots of loaves to produce.
- Cool proofing, usually between 18°C and 21°C: Long, slow proofing at colder temperatures is often done for sourdough and artisanal bread production as it allows for more complex flavour development.
However, Richard Bertinet – a fan of keeping things simple – doesn’t like to get too prescriptive about proof temperatures.
He suggests simply that you proof your dough “somewhere cosy”, as he “thinks that description resonates with people more than specifying a temperature”.
However, if he were pressed to give a temperature, he’d say that 22-24°C in a draught-free place is ideal.
Where to proof your bread
Despite what you might have learned from The Great British Bake Off, you don’t need a proving drawer to proof your dough – although if you do happen to have one, it’s a great option. A proving drawer usually allows you to set the temperature between 30ºC and 80ºC.
However, Richard Bertinet suggests that:
“Since our houses tend to be warmer than in the past, there is usually no need to seek out airing cupboards or other special places.”
He says that, if you have a warm kitchen, it’s the perfect place to proof your bread – just cover your bowl of dough with a linen baking cloth. If you have the window open or your kitchen is draughty and you’re worried about a skin forming on top of the dough, then the solution is simple:
“put an extra large freezer bag over the top of the cloth and bowl – just as you would put on an extra layer of clothing if you felt a chill.”
How to tell when dough is fully proofed
Although all bread recipes suggest timings for leaving your dough to proof, it’s not an exact science. According to Richard Bertinet:
“I would love to say that the times suggested in the lessons are fool proof, but that is impossible, so treat these times as a guide and keep checking for yourself, so that you learn to use your instincts and make little adjustments according to the weather or the time of year.”
He goes on to explain that:
“Temperature and time go together, so if your kitchen is a little cooler than usual, then resting and proving will take a little longer, or if the room is a little warmer, these processes will happen a bit quicker.”
The best thing to do is to keep a vigilant eye on your dough while it’s proofing, checking on it every 30 minutes. That will ensure it doesn’t end up overdone, which can be disastrous when it comes to baking an airy loaf.
The age-old wisdom when it comes to how long you let the dough rise is until it doubles in volume. Richard Bertinet believes it’s better to err on the side of caution and opt to rest and prove dough until it’s ‘just under’ double in volume. This should save you from overdoing it, which, “can cause the dough to lose its domed top, wrinkle and then deflate like a balloon.” balloon”.
When you check your dough, touch the top of it with your fingertips to see how springy it is, and then with the back of your hand to check its temperature. When the dough is ready, it will spring back into place when you lightly touch it, and it shouldn’t feel warm to touch.
It can take some time to get to know what perfectly proofed dough looks like but, as Richard Bertinet explains:
“Like a farmer knowing when to harvest his crops, or a winemaker knowing when to pick his grapes, as you bake more, you will learn to know when your dough looks and feels just right.”
How to tell if dough is over-proofed
If you’ve left your dough too long, one of the tell-tale signs will be that it’s lost its shape and looks flat or deflated. This can happen if the gluten structure weakens and causes the dough to collapse. It may also not bounce back when you lightly press it with your fingers, instead leaving an indentation in the dough.
You may also spot lots of large bubbles on the surface of the dough, or it might smell sour. It might also feel sticky and be hard to handle.
You can still bake over-proofed bread, but it might end up denser than you were hoping for. You can try to salvage it by baking it at a slightly higher temperature than called for in the recipe, or for a shorter time – but it’s important to remember that, however your bread comes out, practice makes perfect. Over time, you’ll become better at spotting when your bread has had just the right amount of time to proof.
How to tell if dough is under-proofed
If your dough is under-proofed, it might feel dense to touch, and it won’t have expanded in size as much as you might have expected it to. If you’ve put it in the oven before realising it was under-proofed, then it’s unlikely to expand much in the oven, and you may end up with a smaller loaf with less rise. It may also come out of the oven a paler colour than you’d like.
If you spot that your dough isn’t quite ready before you put it in the oven, the remedy is easy: simply allow it more time to proof.
Remember that you may need to adjust the time given in the recipe, depending on the temperature.
Bake the perfect bread
Proofing isn’t as complicated as it might first seem. It’s all about letting the dough rest and ferment in a cosy location, so that when you put it in the oven, it’ll come out airy and perfectly risen.
Now you know what to look out for when proofing bread, it’s time to practise some recipes. In Bread Making, Richard will take you through 26 easy-to-follow lessons to get you baking with total confidence – and spectacular results.


Give the gift of knowledge
Surprise a special someone with a year's access to BBC Maestro or gift them a single course.