If you’re into photography, you’ve probably heard of the term ‘exposure.’ But maybe you’re not exactly sure what it means, or how to use it to take incredible photos. So, let’s take a look at everything you need to know about what exposure is in photography.
What is exposure?
So, first things first: what do we mean by exposure?
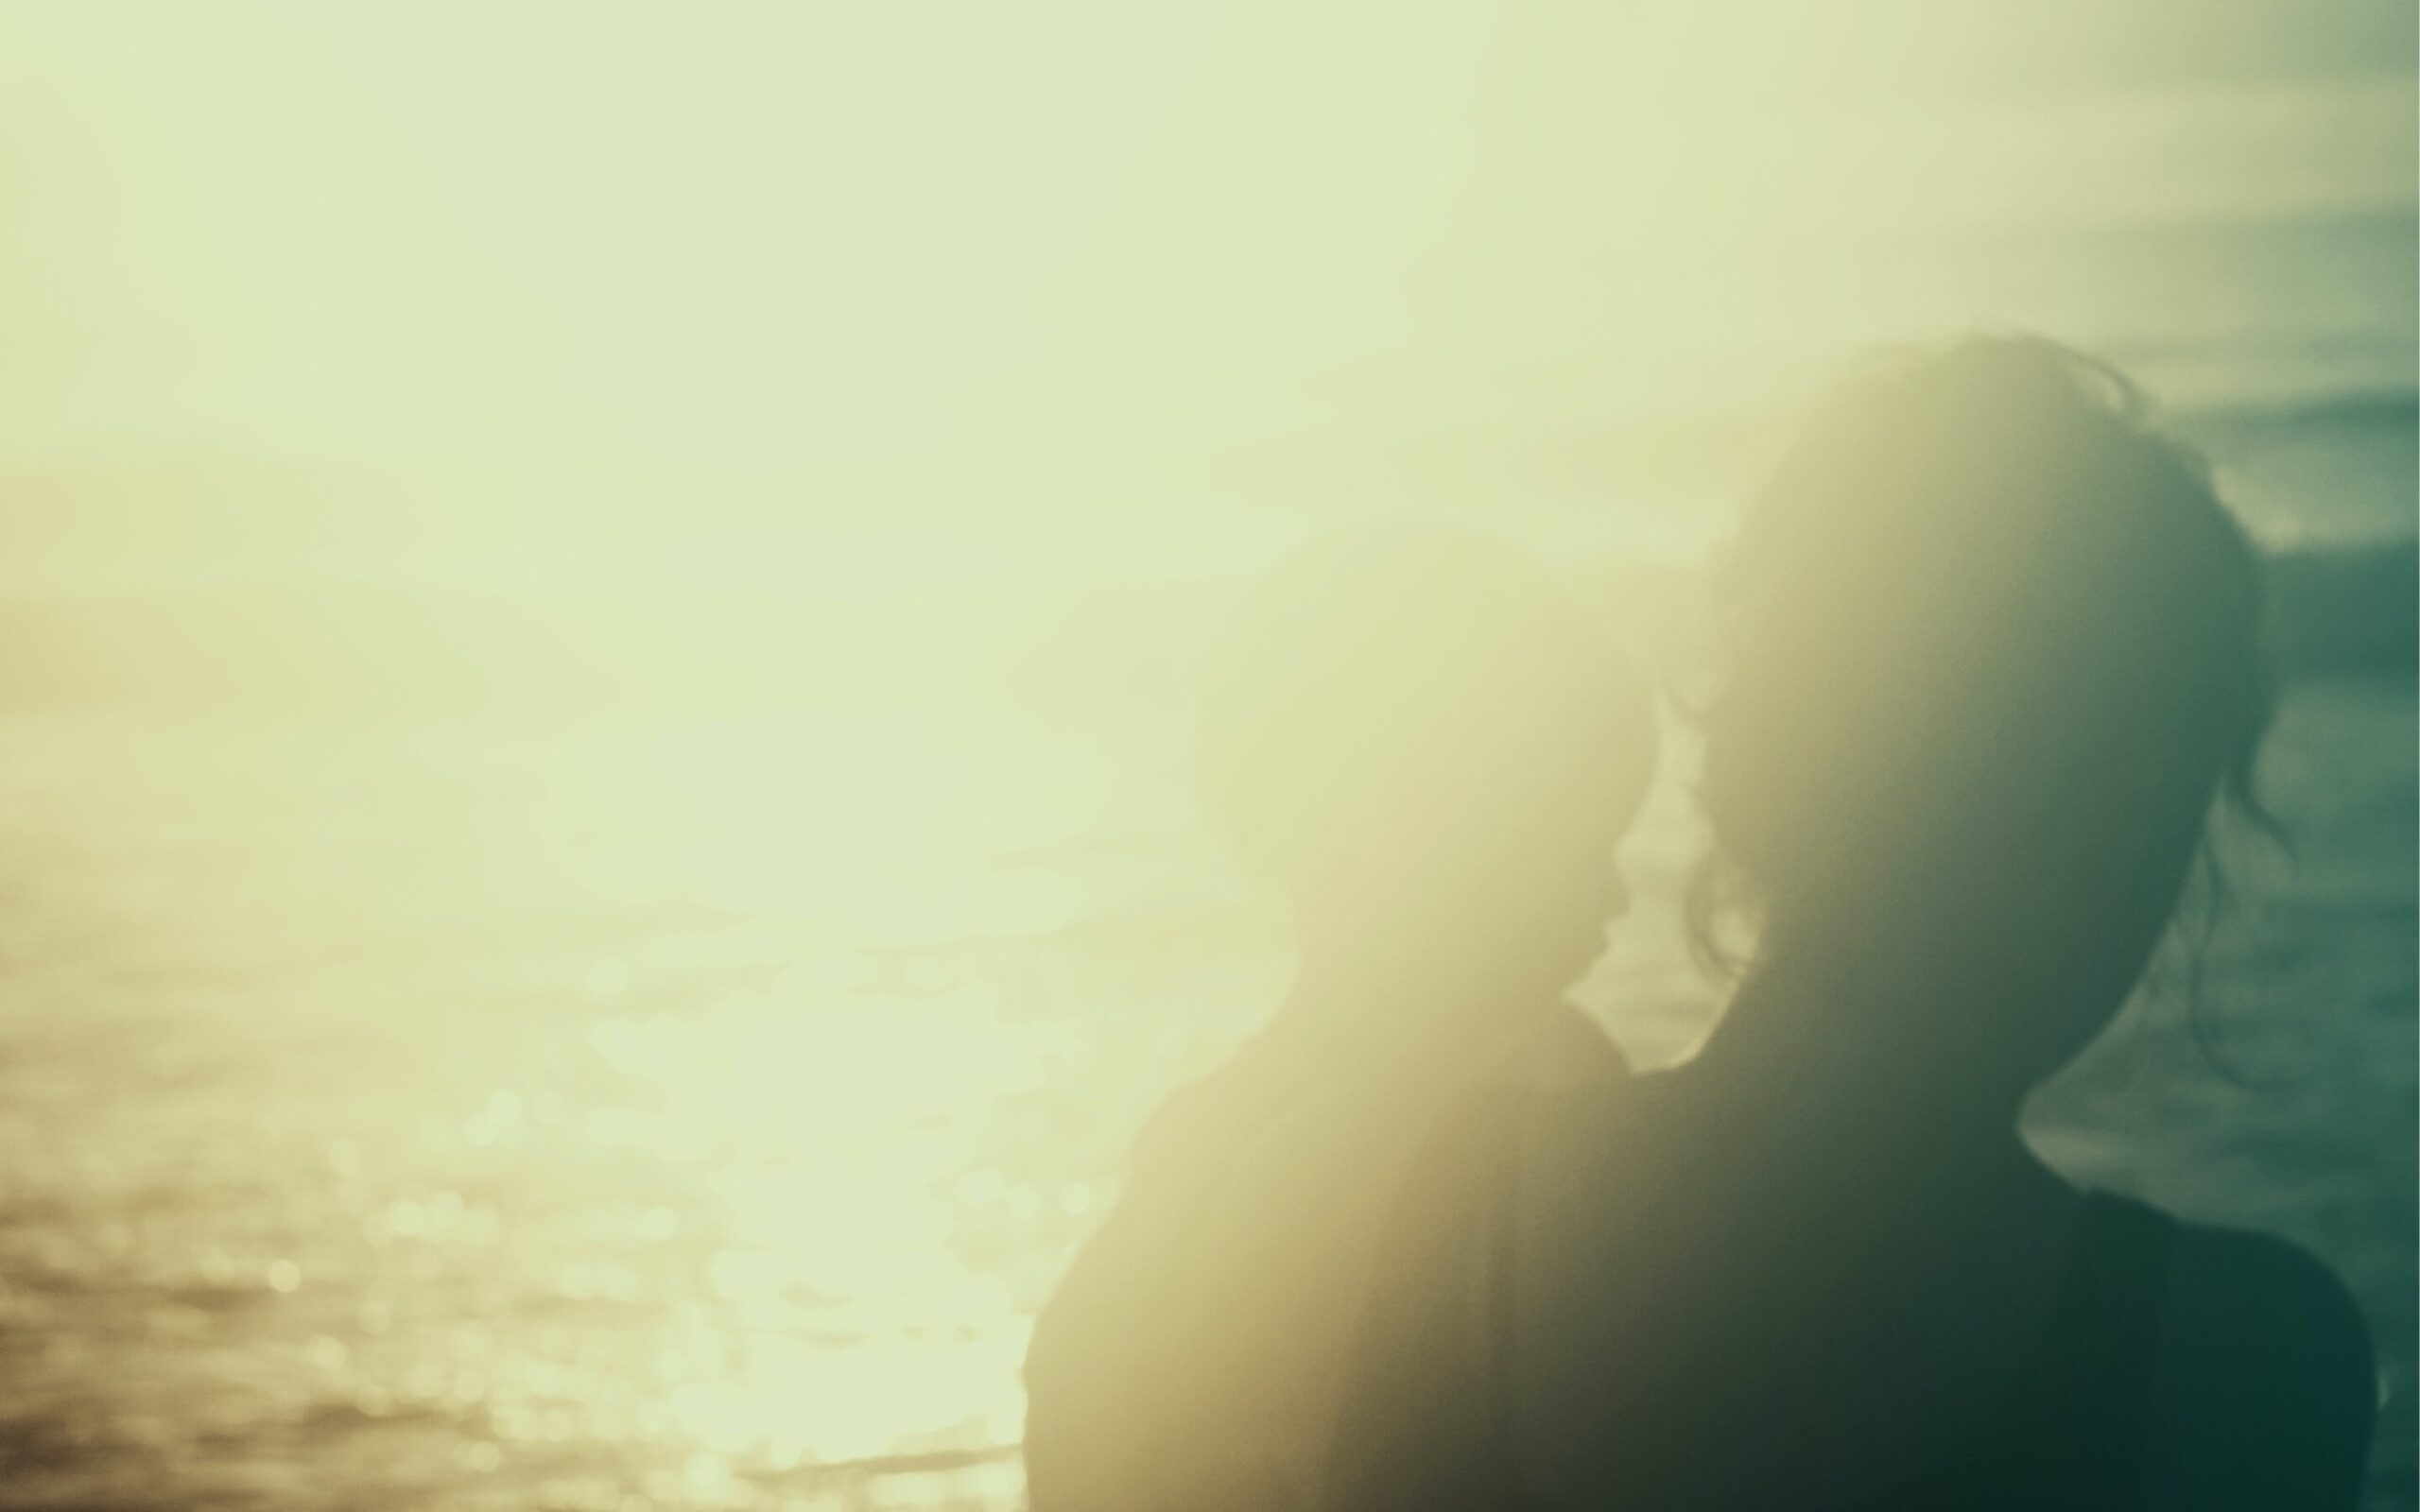
Exposure in photography quite simply refers to how bright or dark a photograph is. In more technical terms, exposure is the amount of light that reaches a camera’s image sensor or film. Light reaches your camera’s sensor when you press the shutter button. This opens the camera’s aperture, and light can come in, reaching the camera’s sensor.
If you have more light reaching the film or camera sensor, the photo will be lighter. On the other hand, if there’s less light exposure, your photo will be darker. It’s a fine balancing act to get the correct exposure. Too much, and your photograph can end up looking washed out. Too little and your photo may be too dark, making the details difficult to see.
What is the exposure triangle?
Exposure is a fundamental concept in photography, but you won’t find any exposure settings on your camera. Instead, the correct exposure is achieved through the perfect combination of three different settings: shutter speed, aperture and ISO.
Shutter speed is the amount of time that a camera’s shutter stays open when taking a photo. The slower the shutter speed – the more light enters the camera. And the shorter the shutter speed – the less light enters the camera.
Aperture refers to the size of the lens opening and determines the amount of light that enters the camera, with smaller f-numbers indicating wider apertures and more light. Aperture also affects depth of field, with wider apertures (smaller f-numbers) creating a shallow depth of field and narrower apertures (larger f-numbers) producing a greater depth of field.
ISO refers to how sensitive your camera’s sensor is to light. It’s written as a number, with a high ISO number meaning your camera’s sensor is more sensitive to light, and a low ISO meaning it’s less sensitive to light.
When you adjust the aperture, shutter speed and ISO settings, you can control the exposure of your images to get it exactly right. If one of these elements changes, then the other two need to change as well, to ensure you get the perfect balance for the correct exposure.
What is exposure value?
You may sometimes hear photographers talk about the exposure value. This is a standardised numerical scale that shows what exposure level you’ll get from a specific combination of aperture, shutter speed and ISO.
The maths behind exposure value is largely obsolete if you’re into digital photography, as the camera does all the hard work for you. However, understanding the combination of settings that make a photo’s exposure just right is still useful. It’ll help you more intuitively understand how much light needs to enter your camera to make the picture look bright or dark enough.
Different types of exposure
When you’re learning about exposure and trying to find the right settings for your photos, you’ll discover several distinct types of exposure. These include:
Overexposure: This is when too much light reaches the camera’s sensor or film, resulting in an excessively bright or washed-out photo. The photo loses details, and the image may appear flat and lacking in depth.
Underexposure: This is when too little light reaches the sensor or film, meaning the photograph ends up being too dark. It can lead to reduced contrast and a loss of fine details within the image.
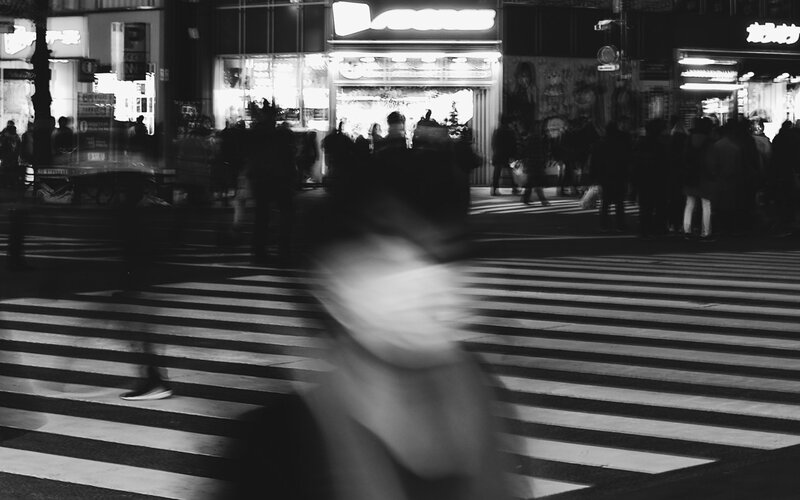
Long exposure: Sometimes also called time exposure or slow shutter photography, long exposure captures an image by using a slower shutter speed. The camera’s shutter stays open for an extended period, letting in more light. This results in a visually striking image, as moving elements within the image can end up blurred, smeared, or trailing.
Double exposure: Also called multiple exposure, this is a technique where two or more images are superimposed onto a single frame of film or a digital sensor, resulting in a composite image that combines elements from each exposure. It allows photographers to create unique, artistic images that wouldn’t be possible with a single exposure.
High key and low key: High key photography creates bright and airy images, while low key photography results in a dark, moody atmosphere. For high key shots, photographers slightly overexpose the image, and conversely for low key shots, the image is slightly underexposed to create deep shadows and a rich contrast between different sections of the image.
How to set the exposure on your camera
With digital photography, it’s easy to get the right exposure for your photographs, as most cameras come with different settings already pre-loaded. You’ll be able to choose shutter priority or aperture priority settings.
With shutter priority, you choose the shutter speed, and the camera will automatically adjust the other settings to get the right exposure. Similarly, with aperture priority, you choose the aperture and the camera will adjust the shutter speed and other settings automatically.
You can also choose to shoot in manual mode, which means that you choose the shutter speed, aperture and ISO yourself. This gives you full control, and playing around with each of the settings can help to give you a better understanding of the exposure triangle.

How to get the correct exposure for different types of shots
The more you play around with the exposure triangle, the more you’ll learn about what types of exposure you like best for different types of photography.
For portrait photography, you’ll want to aim for a balanced exposure to capture the fine details of the subject and their skin tones. Choose a wide aperture, like f/2.8 to create a shallow depth of field. This will ensure that the subject stands out from the background. Choose a low ISO, then adjust the shutter speed depending on what the light is like.
For landscape photography, you’ll want a greater depth of field to keep the entire scene in focus. So, set a smaller aperture such as f/8, along with a low ISO. Choose the shutter speed based on the conditions, including how much light there is, and whether you want any moving elements like cloud or water to blur.
If you’re shooting sports or action scenes, you’ll want to use a fast shutter speed to ensure the details stay crisp and clear and nothing is blurred in motion. Choose your aperture based on your desired depth of field, taking the subject’s distance and speed into consideration.
For street photography, the ideal exposure settings can vary depending on the specific scene, the available light, and your desired creative effect. A shutter speed of around 1/125 to 1/250 is usually a good starting point to capture moving subjects while minimising motion blur. Your aperture settings will depend on whether you want a wide or shallow depth of field, as well as the light conditions.
Getting to grips with exposure
Once you understand the basics of exposure, it’s all about playing around with your camera’s settings to find out what different effects you can create, and what exposure works best with different types of photography.
Keen to find out more about photography? Keep an eye out for Rankin’s BBC Maestro course, coming soon. He’ll cover everything from the basics around lenses and lighting options, to promoting yourself and networking in the photography industry.


Give the gift of knowledge
Surprise a special someone with a year's access to BBC Maestro or gift them a single course.